Sterling Plumbing
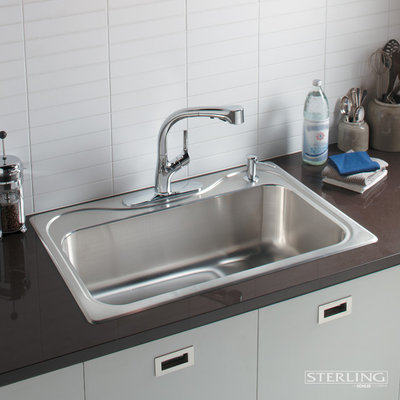
This photo shows a top-mounted sink with predrilled holes for faucet and soap dispenser.
Today, many of my clients prefer undermount sinks for their cleaner look and easier maintenance. Undermount sinks do not come with predrilled holes. They are installed below the countertop (unlike top-mounted sinks, which sit on top the counter). With undermount sinks, the faucet and accessories are installed directly on the countertop. So how do you decide how many holes to drill in your countertop — and where to place them?
Today, many of my clients prefer undermount sinks for their cleaner look and easier maintenance. Undermount sinks do not come with predrilled holes. They are installed below the countertop (unlike top-mounted sinks, which sit on top the counter). With undermount sinks, the faucet and accessories are installed directly on the countertop. So how do you decide how many holes to drill in your countertop — and where to place them?
Pavilack Design
Before your countertop fabricator drills the holes, you’ll want to know your needs. The number of holes you need will depend on the type of faucet and accessories you select. Careful planning beforehand will ensure proper spacing and aesthetically pleasing results, especially since faucets and accessories come in a variety of shapes and sizes.
Let’s take a look at your options, starting with an important question: What accessories do you need?
Let’s take a look at your options, starting with an important question: What accessories do you need?
ScavulloDesign Interiors
What Are My Accessories?
- Air gap. Depending where you live, you might be required by code to have an air gap, which helps prevent raw sewage from backing into your dishwasher. It can be seen above the countertop as a small cylindrical fixture mounted parallel with the faucet.
- Soap dispenser
- Air switch. In lieu of a wall switch to turn on the garbage disposal, an air switch is conveniently mounted on the countertop. It uses air pressure instead of electricity to activate the disposal to reduce the possibility of an electric shock when you have wet hands.
- Water filter faucet. If you’re concerned about the quality of your drinking water, a filter will provide clean drinking water directly from the tap.
- Hot water dispenser. Provides convenient near-boiling water on demand, a great feature for making hot tea.
- Side spray. This can be handy if your faucet does not have a pullout spray.
LIFESTYLE KITCHENS by The Kitchen Lady
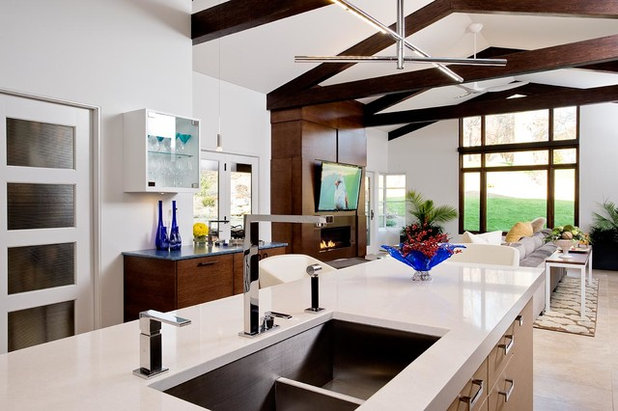
While you may initially be drawn to every single one of those sink accessories, there is such a thing as too many. Here’s my guideline: Ideally, your faucet and accessories should not extend beyond the edge of the sink. Otherwise, the countertop can appear cluttered.
If you are accessory-hungry, there are several potential solutions. If possible, get a larger sink. If not, rethink your accessories. Instead of a bridge faucet — a two-handle faucet with a separate side spray that requires three holes — choose a faucet with an integrated pullout spray that does not require an additional hole. A third option is eliminating a sink accessory altogether — perhaps an undercounter-mounted soap dispenser in not in your future.
If you are accessory-hungry, there are several potential solutions. If possible, get a larger sink. If not, rethink your accessories. Instead of a bridge faucet — a two-handle faucet with a separate side spray that requires three holes — choose a faucet with an integrated pullout spray that does not require an additional hole. A third option is eliminating a sink accessory altogether — perhaps an undercounter-mounted soap dispenser in not in your future.
Barbra Bright Design
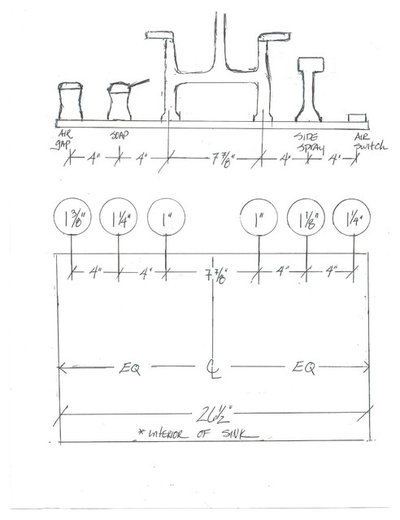
Once you’ve decided which accessories you will select, plot out the layout and spacing of the faucet and accessories to make certain that they do not interfere with each other. Typically, faucets are centered on the sink. From there, holes are drilled 4, 6, or 8 inches apart, when measured from the center of one hole to the center of the next hole.
Like most design, rules are fluid and there is room for deviation. It’s best to have the faucets and accessories on site at the home to test out which order and spacing looks best before the holes are drilled.
Personally, I like to sketch out the placement of the faucet and accessories to see how they might look. When I’m done, I’ll send the sketch to my client to help them visualize the end result.
Barbra Bright Design
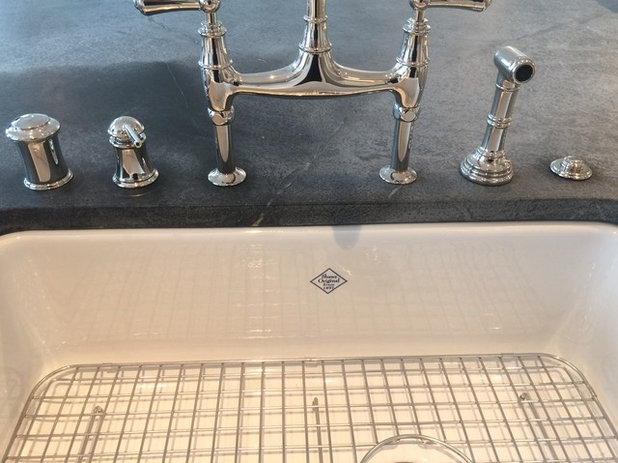
No surprises! The faucet and accessories look just like the layout sketched out in the prior image.
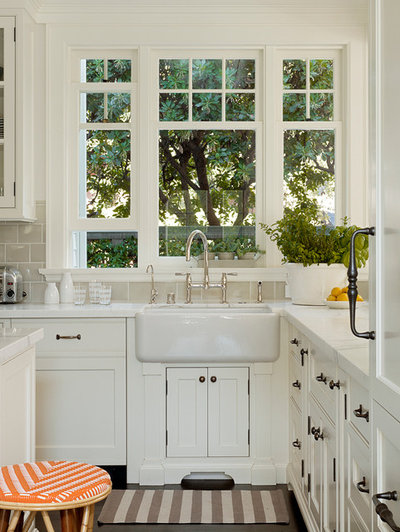
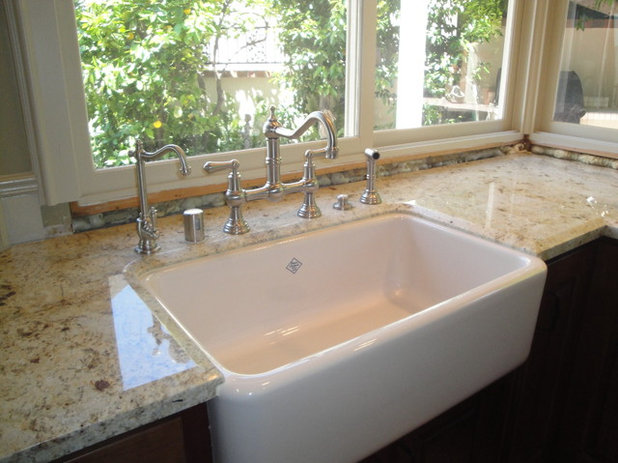
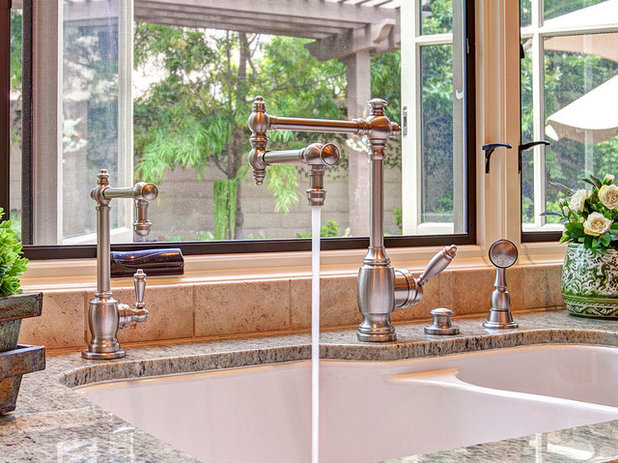
Design tip: Most faucets need only one hole, but others, such as bridge faucets, require two or three. The water supply for a bridge faucet, as shown in this image, come from the two separate holes that bridge, or meet, in the center of the faucet. Some bridge faucets have a third foot directly under the faucet spout, but this is merely decorative and does not require drilling.
Design tip: Most faucets need only one hole, but others, such as bridge faucets, require two or three. The water supply for a bridge faucet, as shown in this image, come from the two separate holes that bridge, or meet, in the center of the faucet. Some bridge faucets have a third foot directly under the faucet spout, but this is merely decorative and does not require drilling.
The Bath & Kitchen Showplace - Tomball
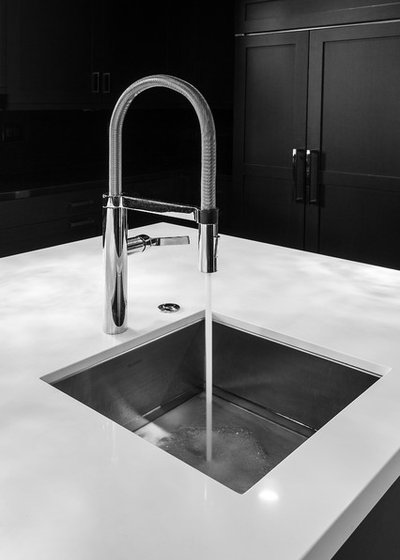
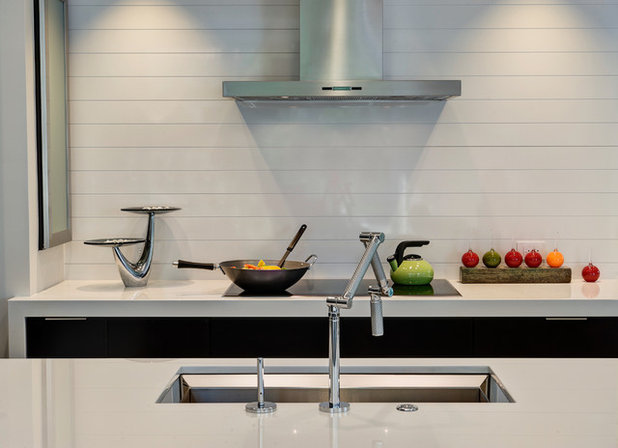
Now let’s look at a few layouts in terms of the number of holes drilled. The easiest layout to drill is a single faucet centered on the sink, as shown in this photo.
Orange Coast Interior Design
Two holes. Here, the faucet is centered on the sink with a 4-inch (center to center) distance to the air switch.
Phil Kean Designs
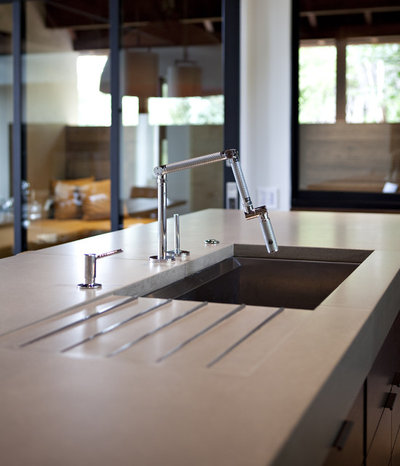
Three holes. In this photo, the faucet is centered on the sink, and the accessories are 4 inches to the left and right of the faucet. The benefit of fewer accessories is a clean, uncluttered look for your sink area.
Four holes. Here, the faucet is centered on the sink, the handle is 4 inches to the right of the faucet, and both the soap dispenser and air switch are 8 to 9 inches from the faucet. It’s OK to think outside the box and not space your accessories evenly, as in this design.
Laguna's Fancy Faucets
Wild card. Though these examples show a few common layouts, there’s not one single way to tackle this aspect of your kitchen design. My best advice for spacing your faucets and accessories is to not overcrowd them — especially since some accessories, such as a combination hot and cold water dispenser, have a large footprint.
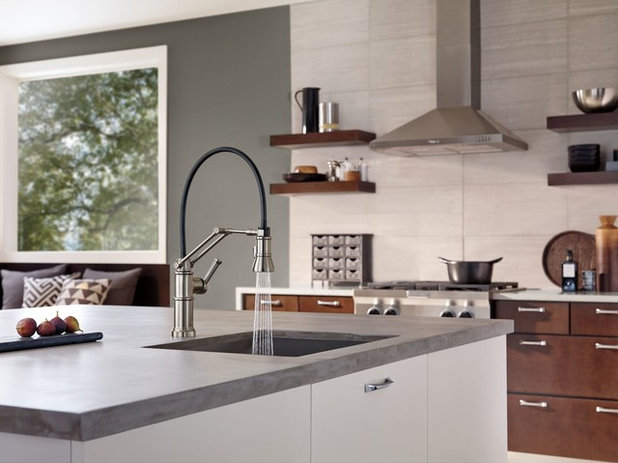
Just remember, it’s all in the planning. As you consider options, it can be helpful to think about where the handle mounts on the faucet. If the handle is to the side, as shown in this photo, perhaps you’ll want to place the air switch next to the handle instead of, say, a water filter, since the air switch takes up less space and will not crowd the faucet. Sketching out a draft of your plan can really help you make choices you’ll be happy with down the road.
More
How to Choose the Right Kitchen Sink
Houzz TV: 60 Kitchen Sinks With Mesmerizing Views
0 comments:
Post a Comment